A reverse osmosis (RO) system is an excellent solution for obtaining purified water at home. It effectively removes impurities, contaminants, and minerals from tap water, providing you with clean and safe drinking water. In this blog post, we will guide you through the step-by-step process of installing a reverse osmosis system under your sink. So let’s dive right in!
Gather the Required Tools and Materials:
Before you begin the installation process, ensure that you have the following tools and materials ready:
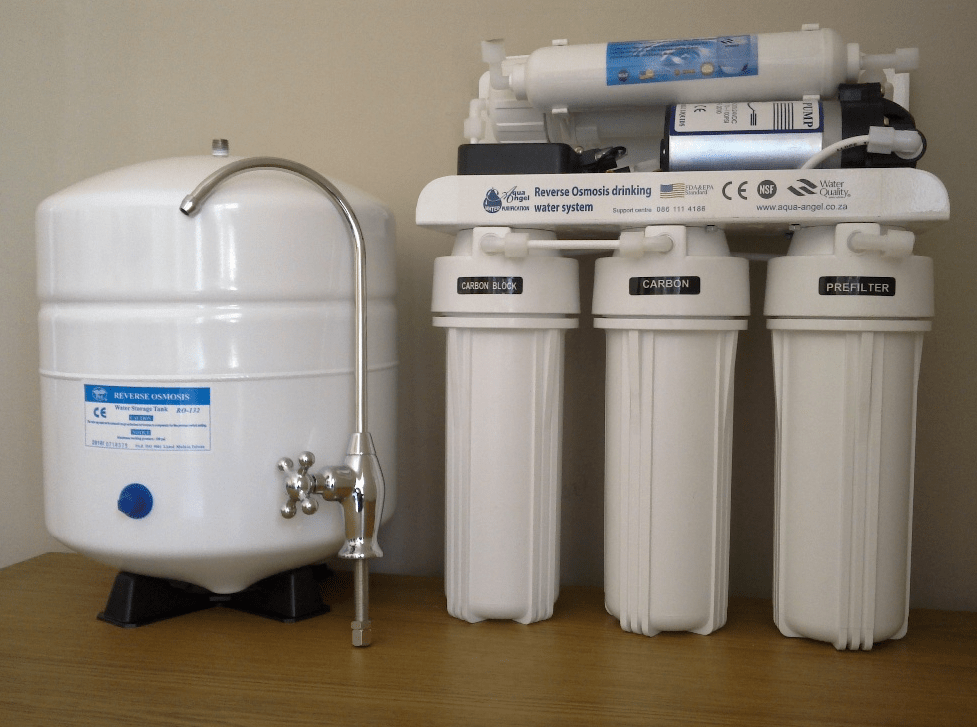
- RO system kit (including pre-filter, membrane, post-filter, storage tank, and faucet)
- Adjustable wrench
- Teflon tape
- Drill and appropriate drill bits
- Screwdriver
- Bucket
- Towels or rags
Choose the Right Location:
Selecting the ideal location for your RO system is crucial. Look for an area under your sink that provides enough space for the system components, including the storage tank. Ensure that the location allows for easy access and maintenance. Additionally, check for a nearby electrical outlet for powering the system, if required.
Disconnect and Prepare the Sink:
To begin the installation, shut off the main water supply. Next, turn on the faucet to release any remaining water pressure. Use a wrench to disconnect the water supply line from the shut-off valve under the sink. Ensure you have a bucket or towels handy to catch any water that may spill during the process.
Install the Faucet:
Drill a hole into the sink or countertop for the RO faucet. The size of the hole will depend on the faucet included in your system. Place the faucet through the hole and secure it tightly using the provided hardware. Remember to apply Teflon tape to the faucet’s threads to prevent any leaks.
Mount the RO System:
Most under-sink RO systems come with a bracket or mounting plate. Install it securely on the interior sidewall of the cabinet under the sink. Make sure the mounting is sturdy enough to support the weight of the system components.

Connect the Water Supply Line:
Attach the provided saddle valve to the cold water supply pipe under the sink. Ensure that the valve is securely fastened and properly aligned. Connect the water supply line from the RO system to the saddle valve, using a wrench to tighten the connections. Double-check for any leaks and ensure that all connections are watertight.
Install the Filters and Membrane:
Follow the manufacturer’s instructions to install the pre-filter, post-filter, and RO membrane in their respective housings. Ensure that the filters are properly seated and sealed. Pay attention to the flow direction indicated on each filter and membrane.
The installation of a reverse osmosis under sink system provides several advantages. Firstly, it offers convenience by placing the system out of sight, freeing up valuable counter space. The under-sink setup also ensures that purified water is readily available at your kitchen sink whenever you need it. Additionally, this installation method minimizes the risk of accidental damage to the system since it is securely placed within the cabinet. With an under-sink RO system, you can enjoy clean and great-tasting water without compromising the aesthetics of your kitchen.
Connect the Storage Tank and Faucet:
Attach the storage tank to the RO system. Ensure that the tank is properly aligned and securely fastened. Connect the tubing from the tank to the system according to the manufacturer’s instructions. Finally, connect the tubing from the faucet to the system, again ensuring a tight connection.
Test and Flush the System:
With all the components in place, turn on the main watersupply and check for any leaks. Allow the system to fill up and flush out any air or impurities. Open the RO faucet and let the water run for several minutes until it flows smoothly and without any sputtering. This process helps ensure that the system is properly primed and ready for use.
Regular Maintenance:
To maintain the efficiency and longevity of your under-sink RO system, it’s important to perform regular maintenance tasks. Replace the pre-filter, post-filter, and membrane as recommended by the manufacturer. Keep an eye on the system for any signs of leaks or malfunctions. Regularly clean the faucet and wipe down the system components to prevent the buildup of dirt or residue.
Conclusion:
Installing a reverse osmosis system under the sink is a practical and effective way to ensure a continuous supply of clean and purified water in your home. By following the step-by-step guide outlined in this blog post, you can successfully set up your under-sink RO system and enjoy the benefits of fresh, safe drinking water. Remember to adhere to the manufacturer’s instructions and perform regular maintenance to keep your system in optimal condition. Cheers to a healthier and more refreshing water source right at your fingertips!